A Late-Summer Walk for Noticing Harvest Patterns
A late-summer walk for noticing harvest patterns helps you read crop edges and changing views from established paths, with a simple route-side plan.
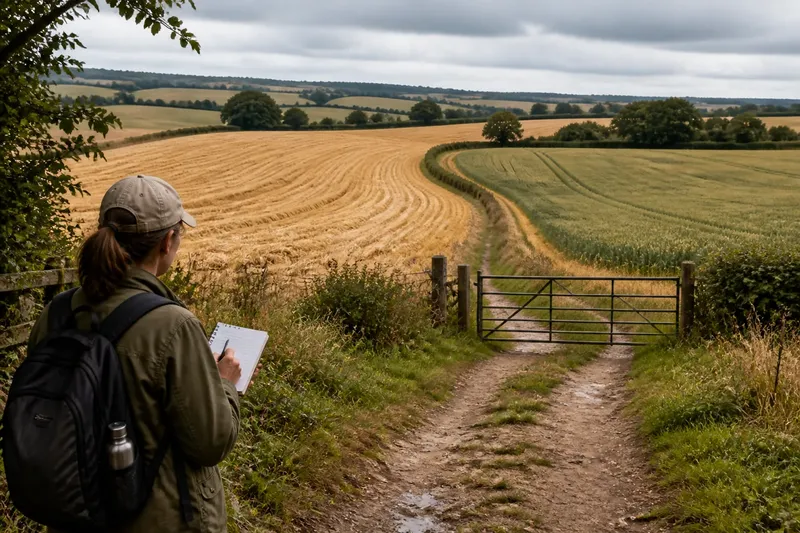
Where can you see harvest patterns clearly without stepping into a field? A late-summer walk for noticing harvest patterns works best from an established footpath or lane, where you can watch crop edges, field entrances and the view change as you go. Take a small notebook or use a phone for brief notes, and let the walk unfold at an easy pace.
Choose a suitable route
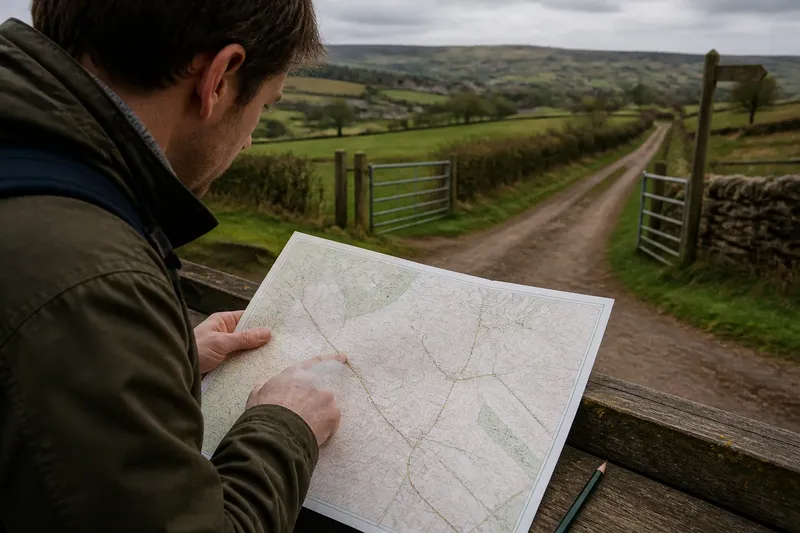
Pick a familiar public path or a route shown on a reliable local map. A path beside open farmland gives you room to observe, while a lane with gateways and bends may reveal different field edges along the way. Check that the route is open and suitable for your plans before setting out.
Keep the walk modest enough that you can stop without blocking other people. Avoid choosing a route simply because it appears to cut across a promising field: stay on the established path, and do not pass through gates or over boundaries unless the route clearly permits it.
Late summer can bring dry stretches, muddy patches or exposed ground, depending on recent weather. Wear shoes suited to the path, carry water, and bring a light layer if the route is open to wind. For access questions, follow local signs and any relevant land-manager guidance.
Start with the field edge
At your first clear viewpoint, pause and look along the nearest crop boundary. Notice whether it runs straight, curves around a rise, narrows towards a gateway or changes direction beside a hedge. You are not trying to identify a complete system from one angle; you are recording what the edge does in the view.
Use a simple note format: location, edge shape and visible change. For instance, write “path bend; long straight edge; crop ends near gate”. A few plain words are easier to compare later than a string of impressions.
Look for the crop’s surface as well as its outline. A harvested strip, standing crop, stubble or a darker band may create contrasting blocks. Keep your wording cautious: from a path, a colour change can suggest a difference in crop or work stage, but distance and light can make surfaces look alike.
Follow changes in the view
Continue to the next bend, rise or opening, then look back towards the view you just left. Does the field edge seem to meet a hedge, disappear behind a fold in the land, or line up with a track? This small shift in viewpoint can show how one crop boundary relates to another without requiring you to leave the route.
Pay attention to what enters or leaves the frame as you move. A hedge may screen a field, a gap may expose its far side, or a shallow dip may hide the lower edge. Think of the view like a window: moving a few steps changes what the frame includes, even though the landscape itself has not moved.
Record one change at a time. If the crop surface changes and the boundary bends at the same spot, note both separately. That distinction helps you avoid treating a visible coincidence as proof that the two features have the same cause.
Notice harvest clues
Harvest can leave several visible signs, but none needs to be interpreted in isolation. From the path, you might notice cut stubble, a neat margin beside an uncut section, rows of material, or machinery tracks leading towards an access point. Describe the clue you can see rather than guessing who worked the field or when.
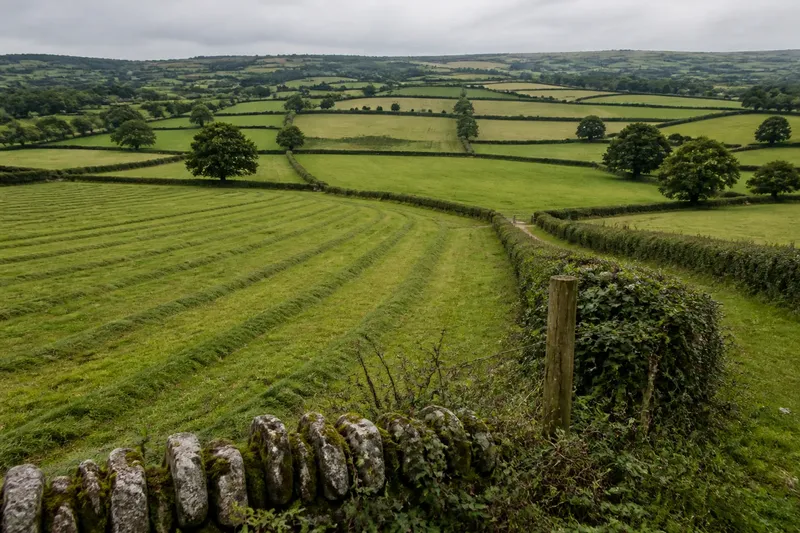
Compare neighbouring fields where the view allows. One may appear recently cut while another remains standing, and their edges may meet at a hedge, ditch or lane. Note the contrast and its location. Avoid approaching a field entrance to inspect it more closely; a distant view is enough for this walk.
Imagine you reach a bend where a broad, pale field ends beside a darker standing crop, with a gateway between them. From the path, you note the bend, the contrasting surfaces and the gateway’s position, then carry on. Your useful result is a clear record of what was visible from that viewpoint, not a claim about the crop or the reason for the boundary.
Make a useful field note
A sketch can capture relationships that are awkward to describe. Draw the path as a line, add the nearest field edge, and mark a hedge, gate or bend only if it helps explain the view. Keep the sketch rough; it is a memory aid, not a map for navigation.
- Mark where you were standing, using a path bend or another visible feature.
- Draw the crop edge as straight, curved, stepped or uncertain.
- Label visible surface differences, such as stubble beside standing crop.
- Show any hedge, ditch, gate or track that meets the edge.
- Add an arrow for the direction you were looking.
- Note whether the view was open, partly screened or changing as you moved.
If you take a photograph, make a note of the viewpoint and direction as well. A picture without that context may be difficult to place later, particularly when several fields look similar. Keep the camera on the path and avoid including private people or property in a way that intrudes on their privacy.
Keep the walk within bounds
Stay on the marked or established route, close gates as you find them, and give livestock and farm activity plenty of space. Do not enter a field to follow a crop line, cross a ditch for a better angle or touch crops and equipment. If a sign closes or redirects the path, follow it and adjust your observations from the permitted route.
Be considerate when stopping. Stand aside where the path is narrow, let walkers and riders pass, and avoid lingering near a working entrance. A useful viewpoint is one you can observe from without obstructing access or disturbing the people and animals using the land.
What should you look for?
How can I tell where one field ends?
Look for a visible change in crop, a hedge, ditch, track or other boundary feature, then note how confidently you can see the edge. Some boundaries are hidden by vegetation or land shape, so record an uncertain line rather than drawing a definite one.
Can I identify a crop from the path?
Sometimes a crop has a recognisable appearance, but distance, season and light can make identification unreliable. For this walk, describing the surface as standing crop, cut ground or stubble is often more useful than naming a plant.
What if the field looks unchanged?
Note what remains consistent, such as a long straight edge or a hedge that screens the view, then look again from the next opening. A steady view is still useful because it gives you a point of comparison for later changes in the route.
Should I record the weather?
A short note about bright sun, cloud or rain can help explain why crop surfaces looked distinct or muted. Keep it brief and tied to what you observed, rather than letting weather notes replace the field-edge record.
Finish with a route-side review
Before you leave the route, glance back over your notes and check that each observation has a location or a clear reference point. If two edges seemed connected, mark that as a possibility unless you could see the connection directly. This keeps the record useful without turning a quick walk into a firm claim about how the land was laid out.
On your next late-summer walk, use the same simple record of viewpoint, edge and visible surface, but let the route offer new details. The main search phrase, late-summer walk for noticing harvest patterns, describes a quiet practice: keep to the path, observe what changes, and write down only what the view supports.